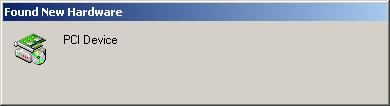
If the Add New Hardware Wizard appears before the Kestrel software is installed, cancel the wizard.
Choose to Cancel the Wizard at this time.
Installing the software
Follow the normal Kestrel software install procedure.
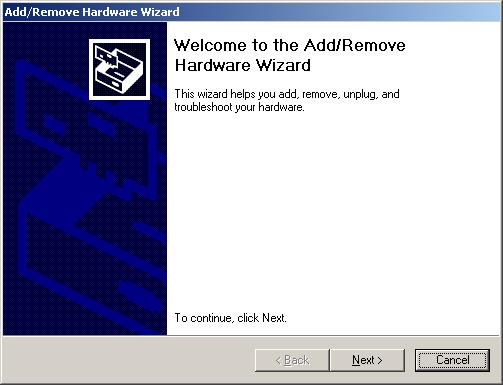
If Windows NT4/2000/XP presents the the Hardware Wizard, skip down to Using the Hardware Wizard to install the driver. Otherwise reboot or start it manually. The Wizard will be automatically presented only for Kestrel after a reboot.
Starting the Wizard manually.
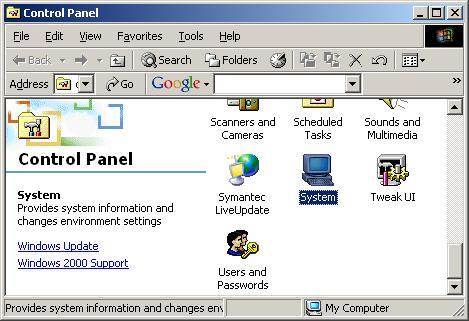
Start the Control panel by clicking Start \ Settings \ Control Panel.
Choose the System applet.
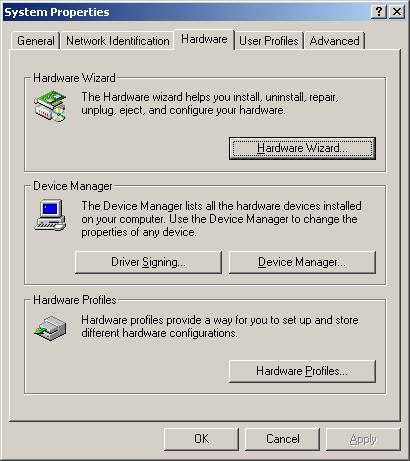
Click the Hardware Wizard from the Hardware tab of the System
applet.
Using the Hardware Wizard to install the driver

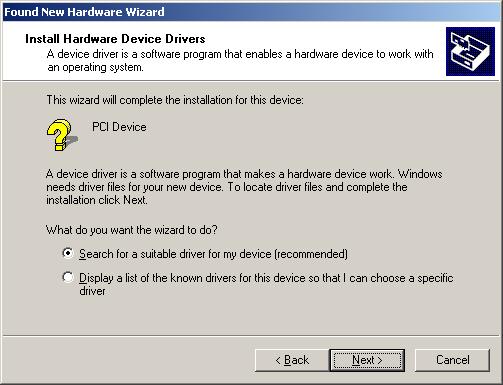

Make sure Specify a location is checked.
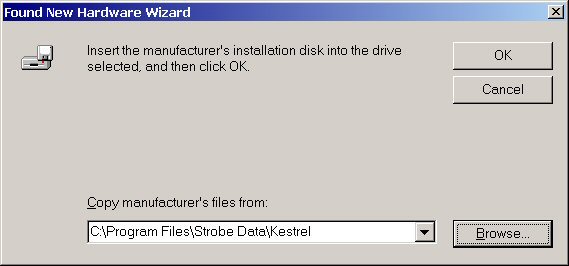
Replace C:\Program Files\Strobe Data\Kestrel with
your actual installation folder, if you did not accept
the default during the Kestrel software install.
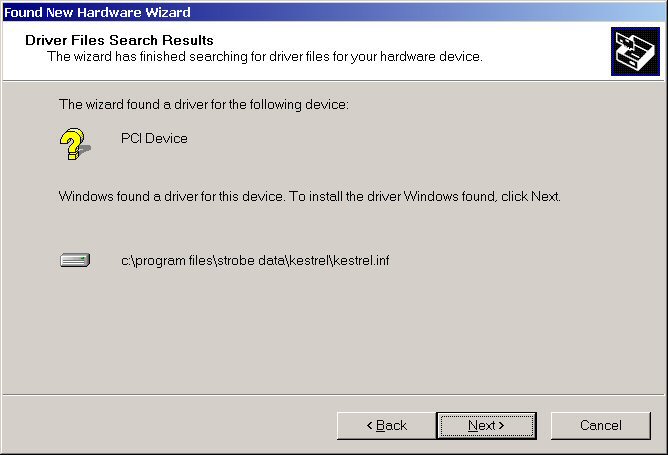
The Hardware Wizard will detect Kestrel.inf. Let
it install the driver.
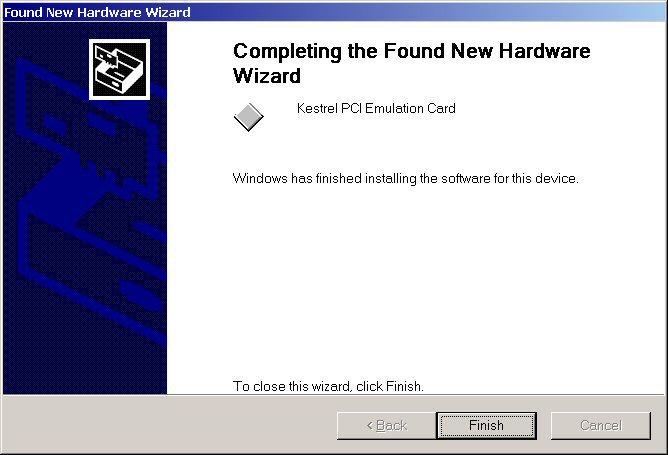
You may now run the Kestrel software normally.
Using the Update Driver Wizard to update the software
With Windows 2000/XP, after a new software update (Release or Interim Release) is installed for the Kestrel, you must update the software driver. Use the Windows Update Driver Wizard, since it not only copies the driver, but and updates the Windows Registry, correctly. First, install the Kestrel software and then rebooting/restarting Windows. Then use the Windows Update Driver Wizard with KESTREL.INF file (no exceptions) from the Kestrel execution folder (default is C:\Program files\Strobe Data\Kestrel\) and proceed, ignoring the Windows/XP (digital signature ...) warnings.